Last weekend I spent the weekend in Georgia with my family, and my mom and I went into wedding DIY frenzy mode. Our largest project involved making our own cornhole set to use during cocktail hour at the wedding. I snapped a few photos on my iPhone (sorry for the poor quality!) throughout the crafting process, if you'd like to see.
What You'll Need:
-Drop cloth
-Saw horses or something elevated to balance your cornhole set on while you paint
-Paint tray
-4'' or 6'' paint roller
-A few extra roller covers
-1 high quality paint brush
-Frog tape
-Con-Tact paper
-Eggshell paint & primer in white. We purchased 2 of
these tintable samplers (we didn't add any color), and it was the perfect amount to paint 2 boards, paint the monogram, plus paint any touch up areas.
-1 qt. of paint tinted to whatever color you want to use. We used Behr Premium paint. 1 qt. is more than enough for multiple coats of color on each board.
-1 qt. of clear, fast-drying polyurethane. Again, 1 qt. is more than enough polyurethane for this project.
The first step is to make or buy an unfinished cornhole set. If you're handy, you can find several tutorials online to build a regulation cornhole game, including
this one. I also suggest searching on Etsy and Craigslist for vendors in your area.
Before you start, make sure that you fill in any holes and then sand the surface of each board so it's smooth and ready to go.
I suggest putting down a drop cloth outside and placing the boards on sawhorses or something elevated to do your painting. You should definitely apply a layer primer to the boards before attempting to apply any color. We used samples of eggshell finish paint and primer in one, which worked perfectly. Make sure to apply a few layers of the primer to any areas that you'd like to tape off and leave white. We did this around the border and around the circle. Feel free to use a roller for the priming and painting but NOT for the polyurethane step at the end. More on that later! :)

The next step is to tape off any areas that you'd like to leave white. My favorite painters tape to use is
FrogTape. We also used
Con-Tact Paper that we had on hand to tape off the area around the circle. This step is completely optional, but I like the way the white contrast looks. We used a 9" paper plate to trace a circle on the Con-Tact Paper and then carefully pressed it down on the board to get all of the bubbles out. We later decided to add a "P" to the board - looking back, it would have been much easier to put Con-Tact paper down for the letter before painting the entire board orange. You live and you learn!
Next you should paint your entire board with whatever color you decided to use. We're using bright fall colors like orange and coral for our wedding, so we went with this bright, tangerine color.
After we painted 2 coats of orange and it got nice and dry, we cut out two "P" letters out of Con-Tact paper and placed the stencil in the middle of each board. We painted three coats of the eggshell paint/primer combination inside of our stencil, waited for it to dry thoroughly, and then peeled it off gently.
At this point, you might want to take a small paintbrush and touch up any areas where the orange bled onto the white. It's pretty easy to touch it up, but I recommend using a really tiny brush!
Finally, you should take a high quality brush and paint on a layer of polyurethane. You should let the layer of polyurethane dry for 2-3 hours before painting on the next layer. The board should feel very smooth and dry (not sticky) before you paint your next layer. I recommend painting 4 layers in total. After 4 coats, you should take some very fine sand paper and lightly sand the entire surface of the board - make sure to go with the grain! Paint one final layer of polyurethane and let it dry completely. Once you do this, the boards should be sealed and very smooth.
The final step is to grab some friends, some beers, and test out the boards. We made our own beanbags too - I'll post a follow up tutorial next week. And there you have it - a cornhole tutorial just in time for summer BBQs and weddings. Happy playing everyone! xoxo










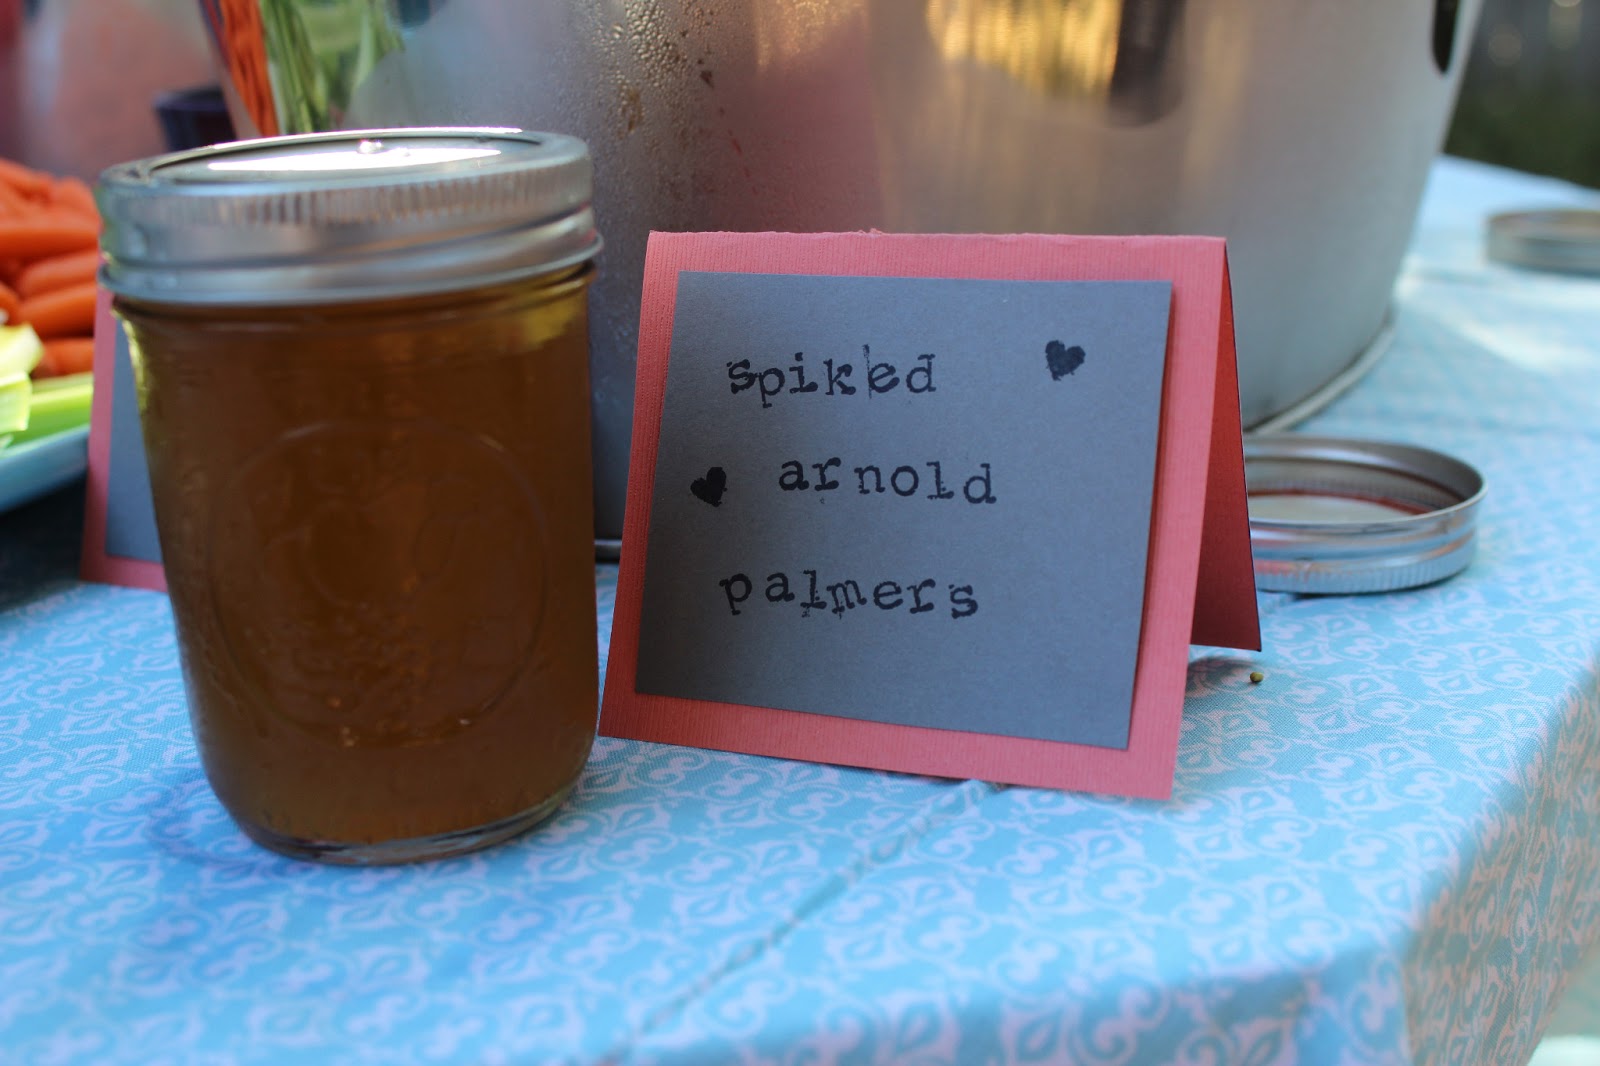

 Meredith cooked up the most amazing spread of food. We snacked on homemade caramelized onion dip and then she served delicious comfort food for dinner: pulled pork, mac-n-cheese, fruit skewers, baked beans, and homemade ice cream sandwiches. Of course, I ate two ice cream sandwiches (she made two types, so it would be rude not to try them both, right?). She even whipped up individual cocktails in tiny mason jars - spiked Arnold Palmers, which were amazing.


.JPG) When I was home in April, my mom and I made a few decorative signs for the wedding. We're having a rustic, barn wedding, so we were going for the shabby look.
When I was home in April, my mom and I made a few decorative signs for the wedding. We're having a rustic, barn wedding, so we were going for the shabby look. .JPG)
.JPG) Next, we painted each board with an antique, off-white matte paint. We just asked the fine folks at Home Depot to mix us up a small sample of this color. It was more than enough paint and only cost us $3. Just take a brush and paint the color almost all the way to the edges. Again, leave it out in the sun to dry. If you want it to look a bit more distressed, lightly sand the board after it dries.
Next, we painted each board with an antique, off-white matte paint. We just asked the fine folks at Home Depot to mix us up a small sample of this color. It was more than enough paint and only cost us $3. Just take a brush and paint the color almost all the way to the edges. Again, leave it out in the sun to dry. If you want it to look a bit more distressed, lightly sand the board after it dries. .JPG) Print out the words/phrases you want to create onto computer paper. We used the phrases "let's celebrate" and "oh happy day", but the possibilities are endless! Get yourself some tracing paper (we used the fabric kind because we had it on hand), place the tracing paper face down on the board, place your printed phrase on top, and then use a pen to trace each word onto the board. You might want to use a few pieces of tape to hold the tracing paper and computer paper steady.
Print out the words/phrases you want to create onto computer paper. We used the phrases "let's celebrate" and "oh happy day", but the possibilities are endless! Get yourself some tracing paper (we used the fabric kind because we had it on hand), place the tracing paper face down on the board, place your printed phrase on top, and then use a pen to trace each word onto the board. You might want to use a few pieces of tape to hold the tracing paper and computer paper steady..JPG)